Sunday, 22 November 2020

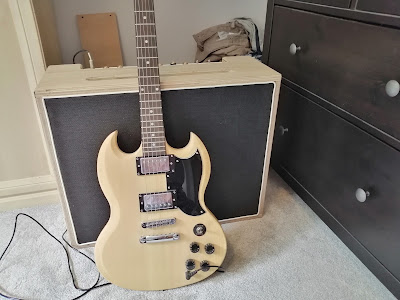
 Telecaster kit from Harley Benton.


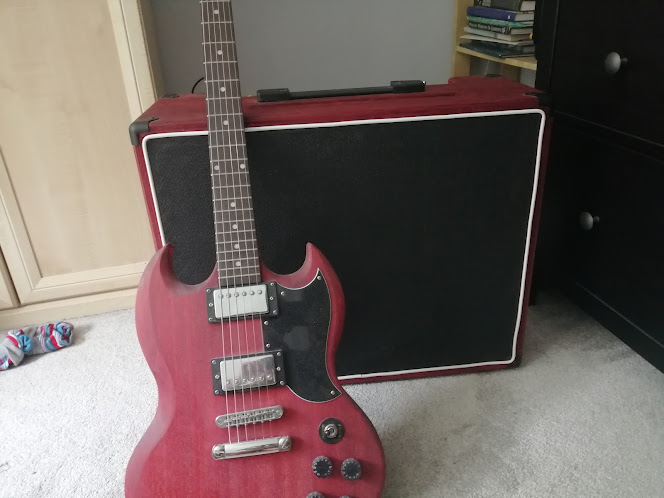
Staining the body with Crimson Guitars finishing oil.


Shaping the headstock.


The finished item. Sounding fabulous.


Monday, 1 June 2020

Seventies Mission Power Amplifier.


Recently acquired this Mission Power Amplifier.

 In 1982 the Mission 776-777 pre/power amplifier combination replaced the original 771/772 system. The 777 broke with Mission tradition by using paralleled complementary FET output devices instead of the usual bipolar transistors. This amplifier was well regarded for its sound; less so for its rather brutal looks and whilst innovative in many ways it had the great limitation that it didn't work well with pre-amplifiers other than the Mission 776. The reason for this was the fact that the 777 was a shunt feedback dc coupled design so there were no capacitors in the direct signal path. This mean't that there could be the problem of a dc 'offset' voltage appearing across the loudspeakers. This dc voltage was minimised by careful selection of several resistors in the factory but the setting assumed that the output resistance of the pre-amplifier would be that of the 776 design. Install a different pre-amp. and you could have unacceptable voltages across the loudspeakers.
 The 777 was revised in 1983 as the 777BU model and largely discontinued in 1984 when the smaller Cyrus 778 amplifier was launched. It was a double mono unit with two amplifiers and two power supplies in the one case following the format of the earlier 772. The transformers were big 300VA "EI" types (not toroids) and the reservoir capacitors were ELNA Hi-Grade Lytics, 8x 15.000µF/63V, The output MOSFETs were Hitachi 2SJ50/2SK135s (alternatively 2SJ55/2SK175 or 2SJ56/2S176).
The output was rated at 100 wpc into 8 ohms and about 250 watts into 2 ohms was achieved on a good day. The frequency response was DC-400 kHz +0/-3dB. It retailed for £750.00 which was considered to be expensive at the time.
Text courtesy of Stan Curtis.


Tuesday, 7 April 2020

Making the 15 watt Marshall amp with instructions supplied by Tubedepot.


Marking out and drilling the holes for the PCB board needing good precision. At this time it would be an idea to have a pedestal drill.


Adding all the turrets


Populating the PCB board.

Adding the iron.
Now wiring, carefully does it.


The tubes: 2 x EL84's  3 x 12Ak7's  and one EZ81.
The transformers:  one 18 watt Power Transformer and one 18 watt output transformers


The cabinet being assembled.


I found it was very necessary to use an adhesive spray glue to keep the fabric from looking baggy.


Adding the piping. It was important to soften it first with a hairdryer as it was being stapled 
to the baffle board.


All done and sounding very good. just a few finishing touches, the tremolo connection needs wiring and I am going to stain and varnish the wooden casing.


+


The little niggling problems that always arise after you think you have finished the job.

Okay, I admit it there were a couple of things that need to be remedied, which I will fix when I take the grill and amp off the cabinet for wood staining.

1)  I ended the piping in the wrong place, it shold have been somewhere more discreet, ie the bottom of the cabinet.


 2)  I glued one of the upright struts before checking that the upper and lower back panels were flush with the main cabinet.
3)  The metal corners don't fit flush. The bevel all around the cabinet must be increased.


All done now and I'm really pleased with the result. It sounds fantastic nice and loud.


I used a red stain and finishing oil, that I had left over from finishing a guitar, 
supplied by Crimson Guitars.


TubedepotNot to mention a big shout out to Paul from Modulus Amplification who supplies all things Marshall.